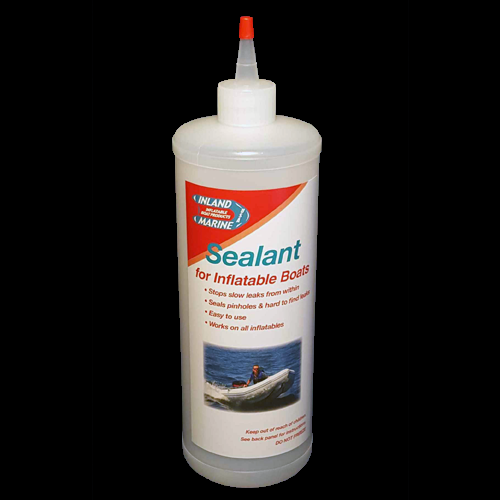
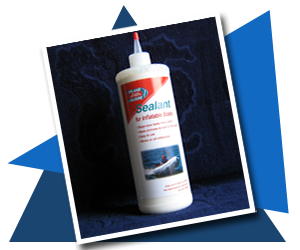
Sealant will successfully treat SMALL seam leaks!
IMPORTANT!!
Be sure to check out our Getting Started information before beginning any inflatable repair project!
You may wish to consult our Inflatable Boat Material Reference Chart before ordering.
STEPS
- When treating a boat for seam leaks, first locate the leak using the normal soapy water test.
- Inject Inland Marine Sealant® into the air chambers in the normal manner.
- If the Sealant oozes out of the seam leak, immediately release some pressure by opening the air valve. DO NOT deflate the boat entirely, but keep enough pressure in it so that it keeps its shape.
- WIPE OFF THE EXCESS THAT OOZED OUT IMMEDIATELY AS IT WILL DRY VERY RAPIDLY and you will not be able to get it off at all except with TOLUENE and 220 grit sandpaper.
- Let the boat stand for about three hours in order for the Sealant to cure in the seam.
- After this time, re-inflate the boat and test with soapy water to see if the seam is completely sealed. If it is not, put only about ONE OUNCE of Sealant in the chamber and turn the boat so that the, Sealant again oozes out of the leak, then turn the boat so that the Sealant does not stay in that one spot. MORE IS NOT BETTER! It is better to repeat this process several times than to use too much Sealant in one application.
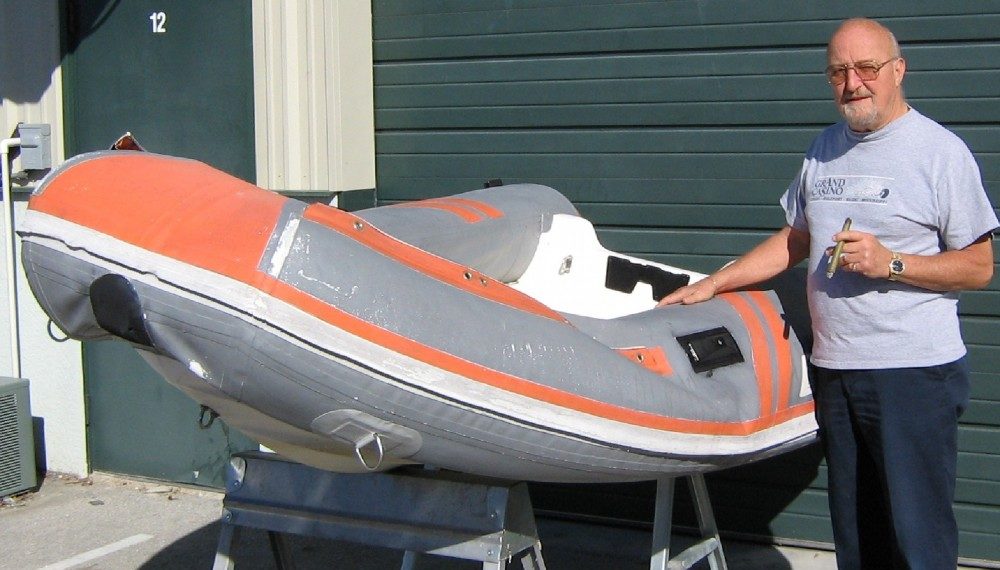
Using this process, we have seen an eight-inch seam leak sealed in three tries. The leak was eight inches long when the Sealant was first applied. On the second treatment, it was about three inches long. The third try sealed it completely.
Although it took some effort and some patience, it saved the boat.
Still Have Questions?
We welcome your questions at Inland Marine and would be happy to help you in choosing the right product for your restoration project. Just let us know!